1.1.2 Gated SR Latch
Block Diagram and Characteristic table :

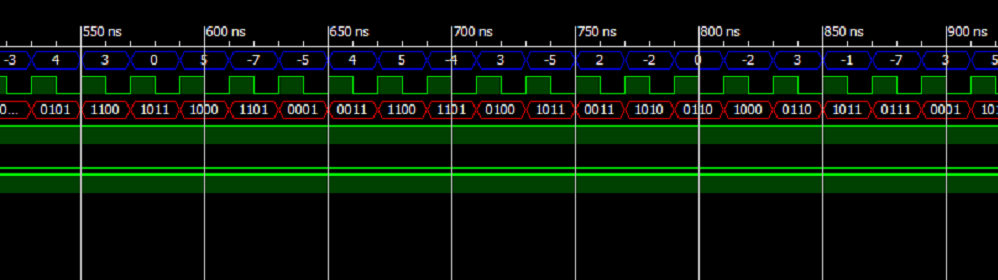
Working :
Reference : For how SR latch works refer SR Latch.
S -> set output to '1'
R -> reset output to '0'
Q(t) -> present state.
Q(t+1) -> next state.
Latch is
always level triggered.
VHDL Code :
When Clk='0' , R' and S' is 0 .So,
No change in the output occurs.
When Clk='1' , R and S inputs are
propagated and its a basic SR latch
operation.
VHDL Code :
 library IEEE;
 use IEEE.STD_LOGIC_1164.ALL;
 entity Gated_SR_Latch is
     Port ( S,R : in STD_LOGIC;
          clock : in STD_LOGIC;
          Q : inout STD_LOGIC;
         Q_n : inout STD_LOGIC);
 end Gated_SR_Latch;
 architecture Gated_SR_Latch_arch of Gated_SR_Latch is
 signal S_tmp:STD_LOGIC;
 signal R_tmp:STD_LOGIC;
 begin
      S_tmp <= clock AND S;
      R_tmp <= clock AND R;
      Q <= R_tmp NOR Q_n;
      Q_n <= S_tmp NOR Q;
 end Gated_SR_Latch_arch;


